Page (UI Widget)
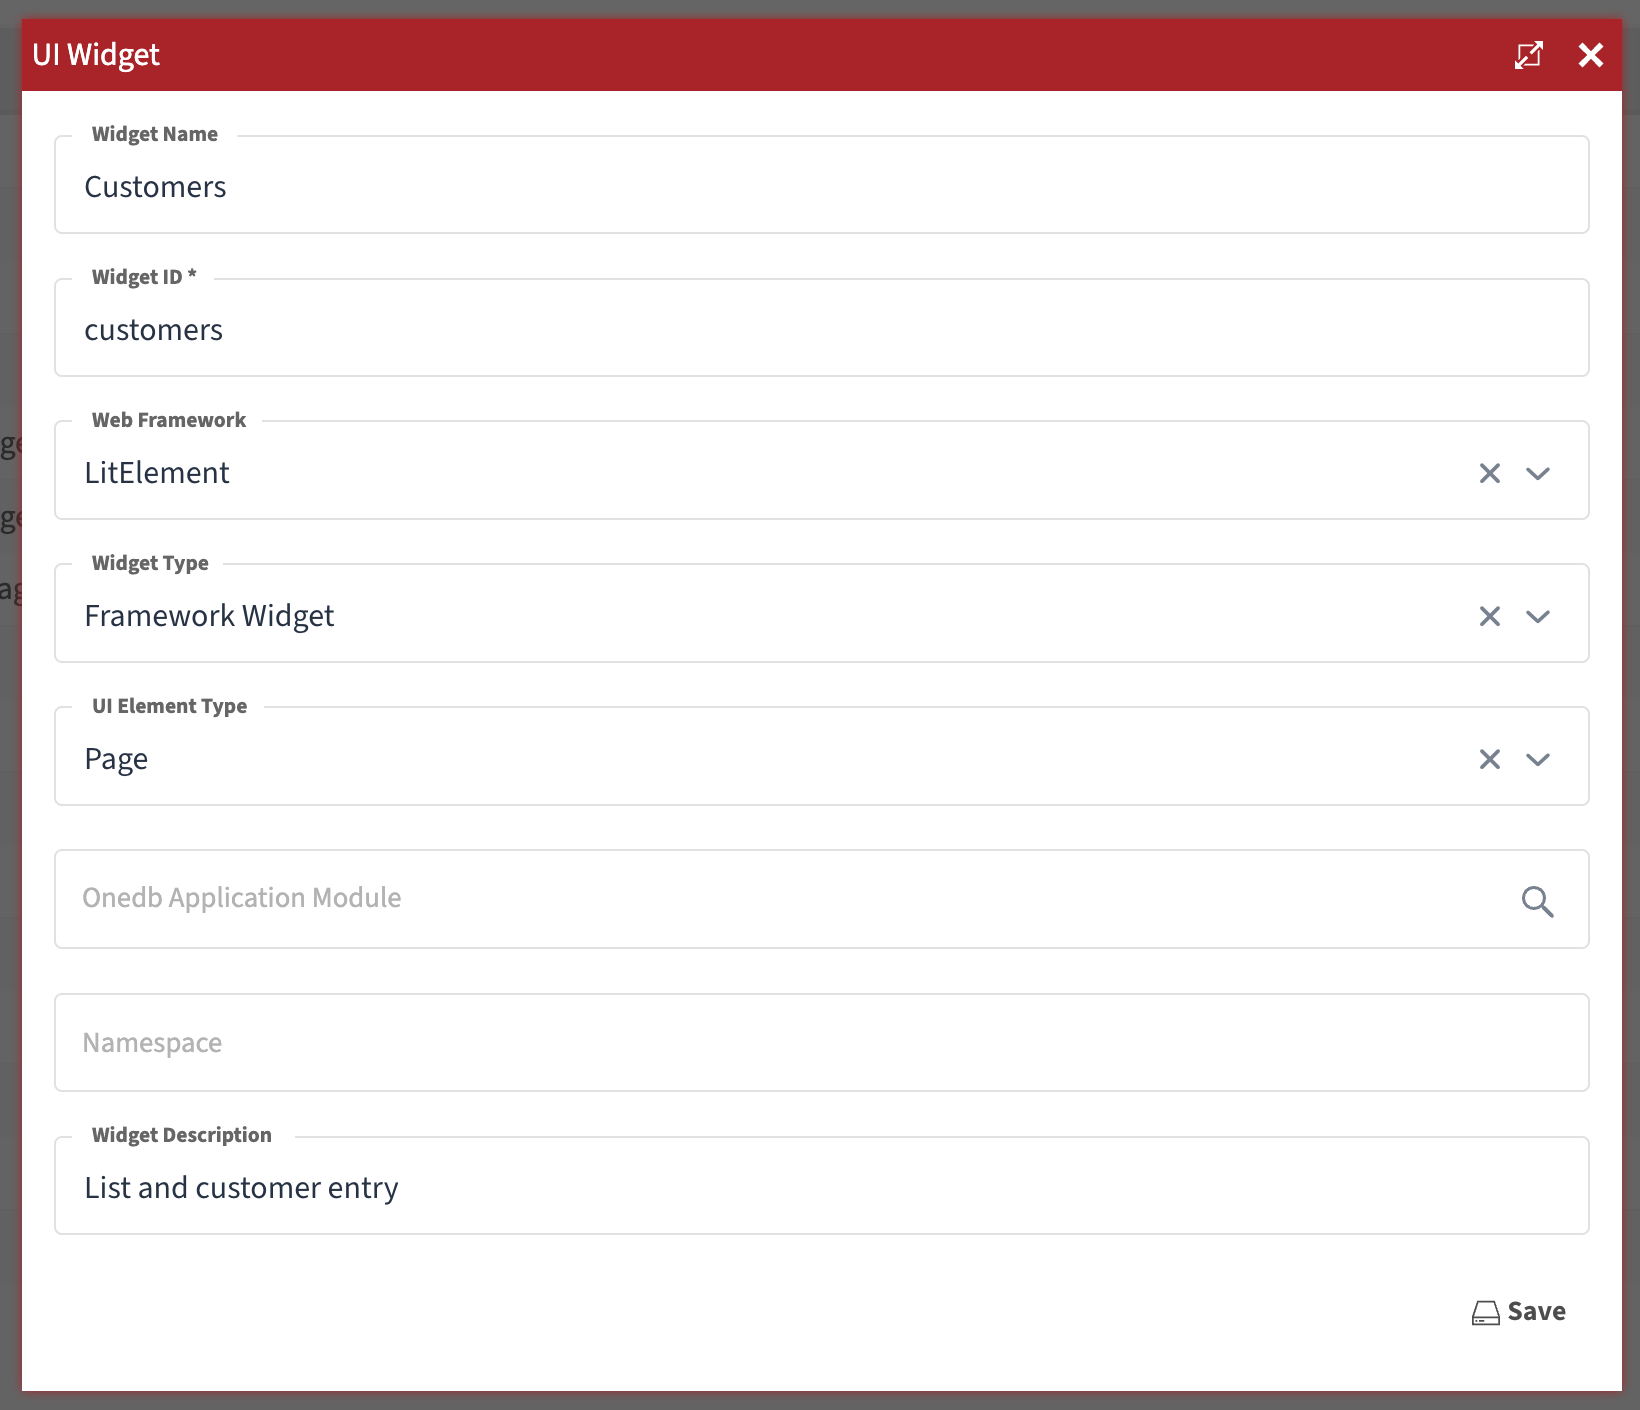
Next, we will create a simple custom page featuring a list of customers along with fields for adding a new customer. Start by creating a new UI widget by navigating to Home Screen -> UI Widgets, ensuring that the UI Element Type is set to Page.
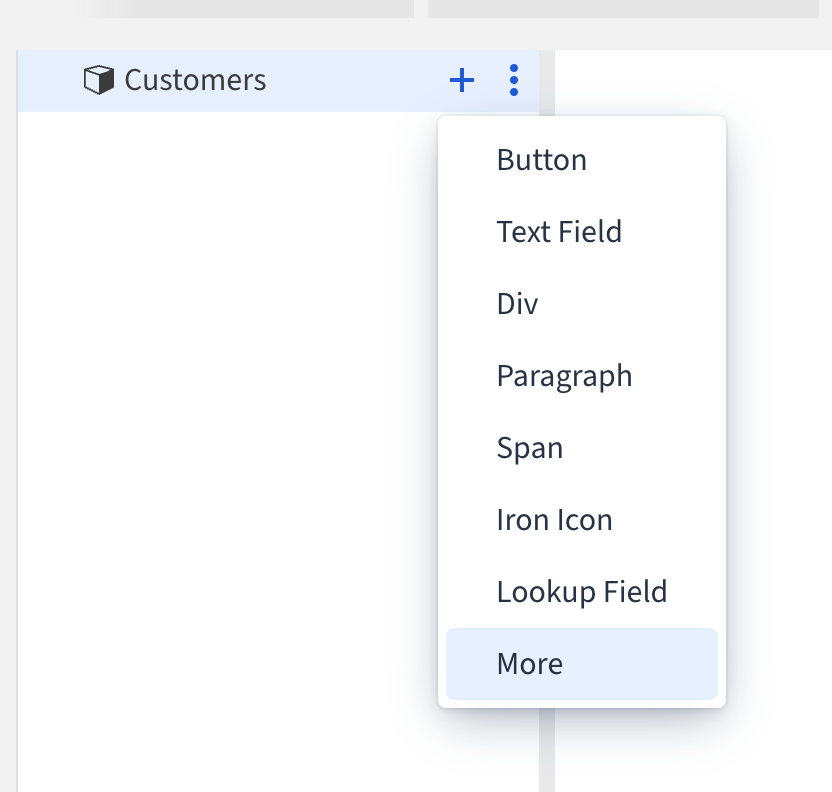
The new page will open in the Widget Designer tool (beta), where you’ll see an empty elements hierarchy on the left. First, we will add a list of existing customers. To do this, hover over the Customers label (or another label, depending on your widget’s name), click the + icon, and select More.
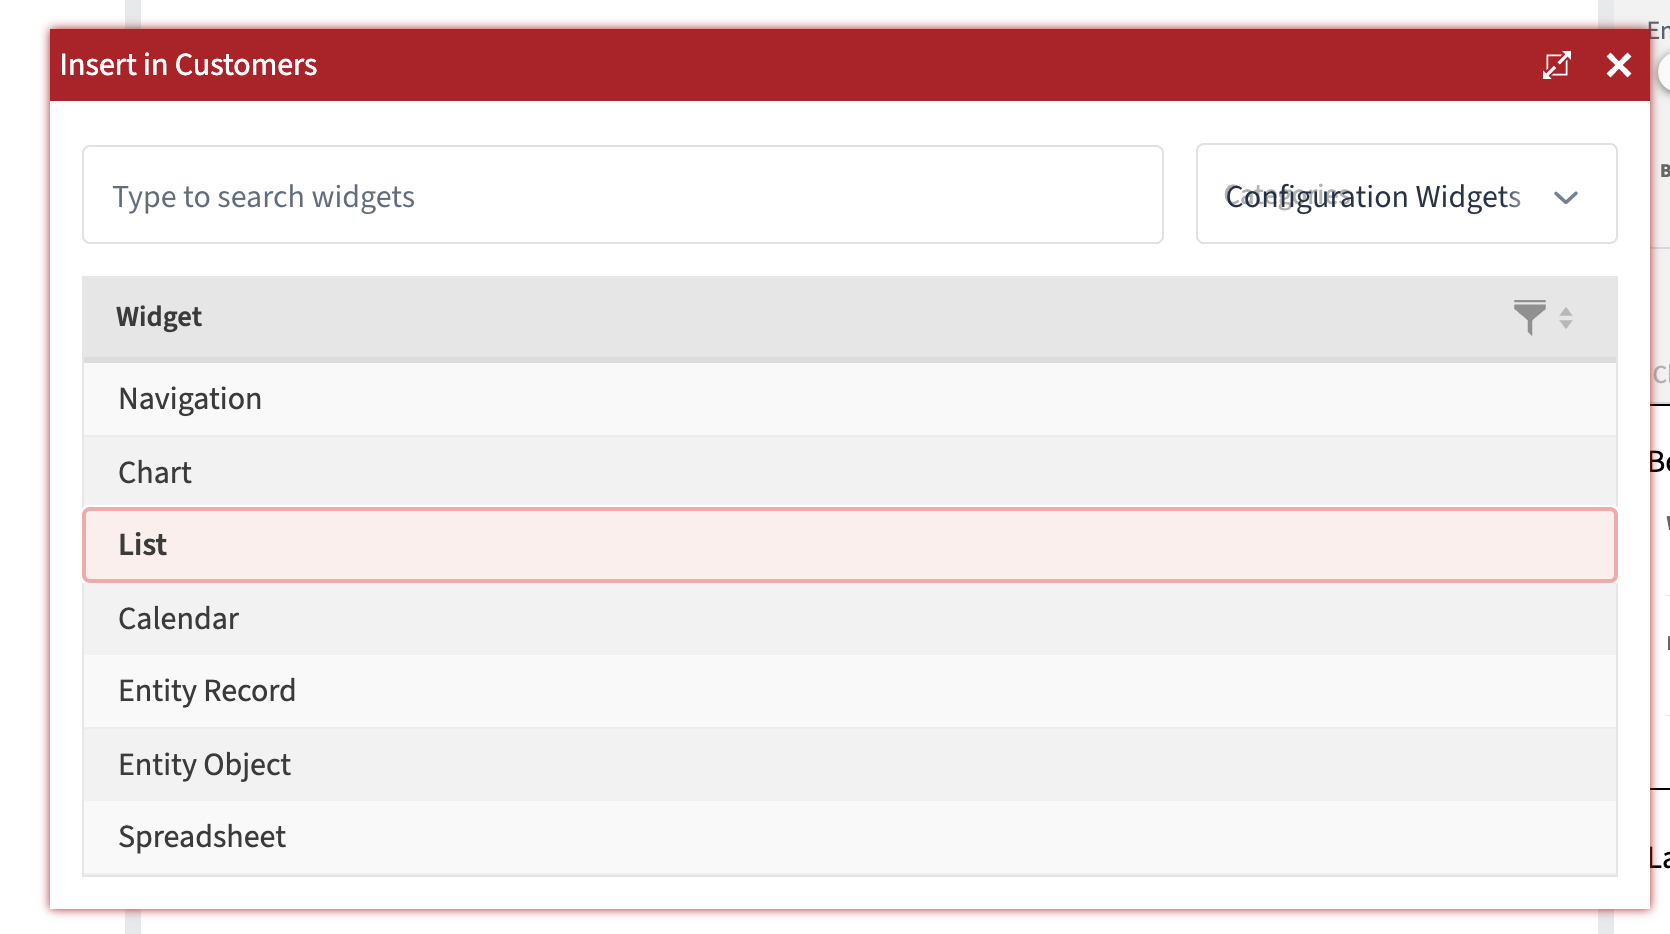
Select Configuration Widgets category and then double click List in the table.
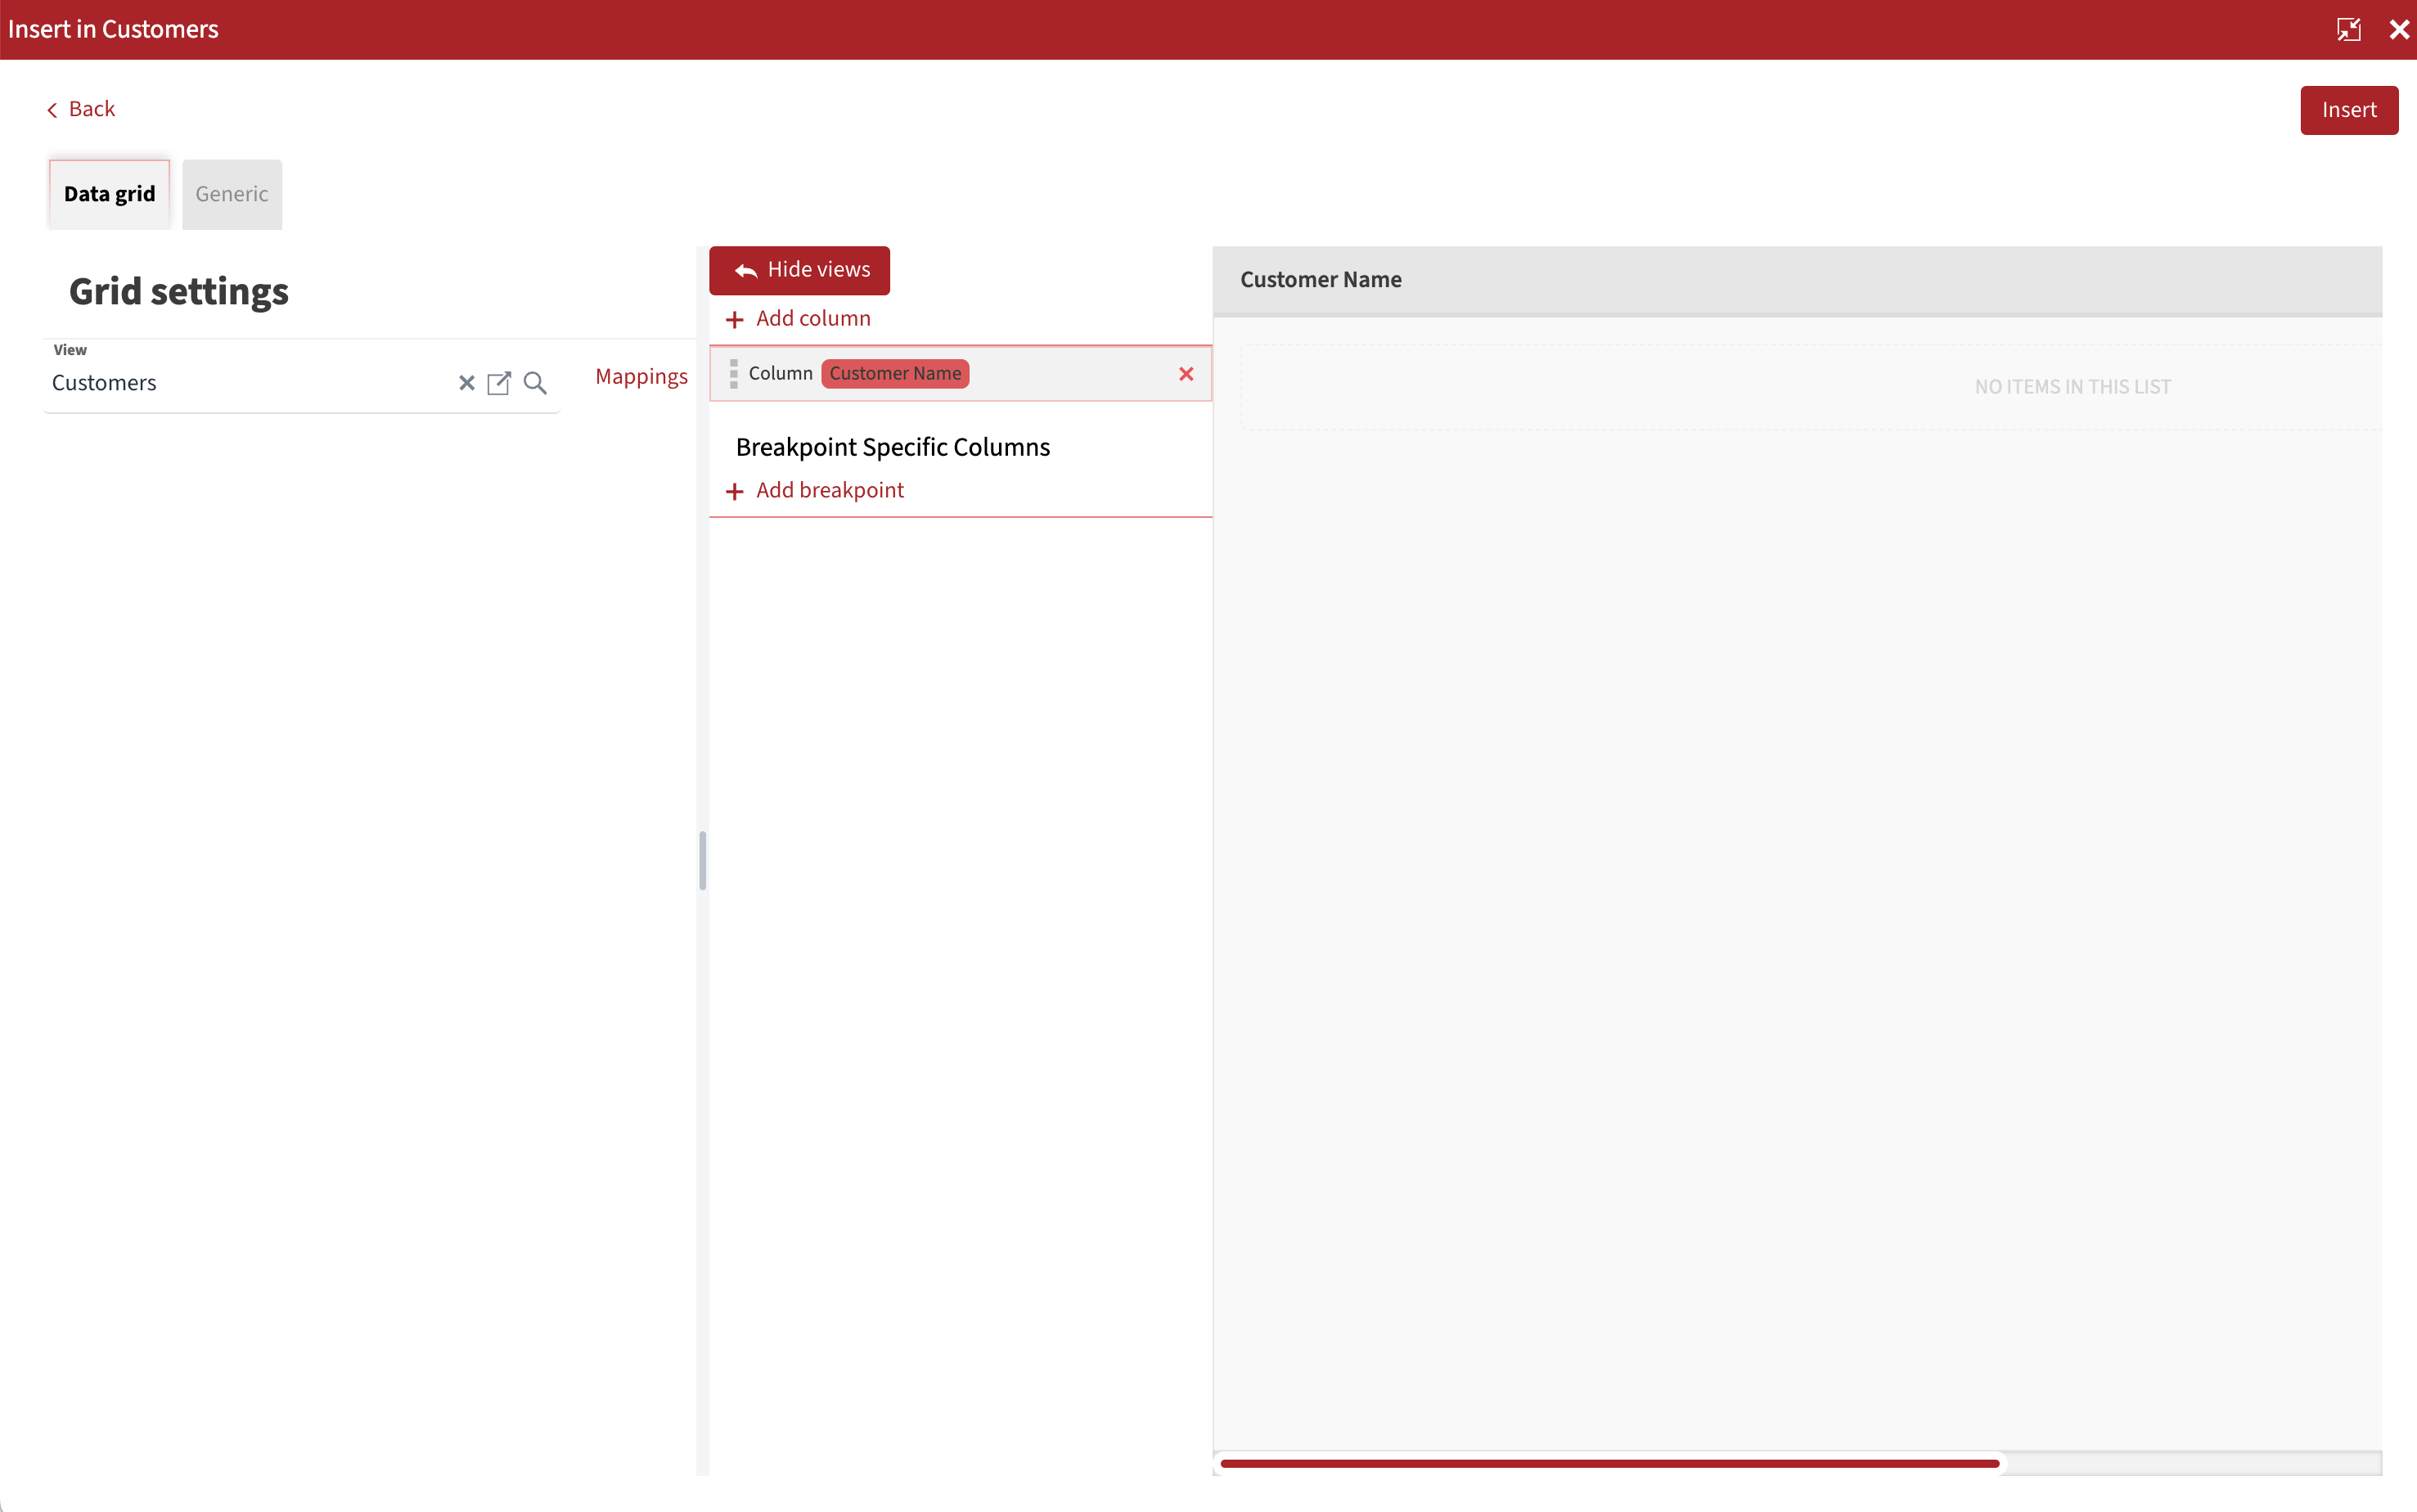
Expand the configuration window, select the Customers view, choose the columns you want to display in the list, then click Insert and close the configuration window.
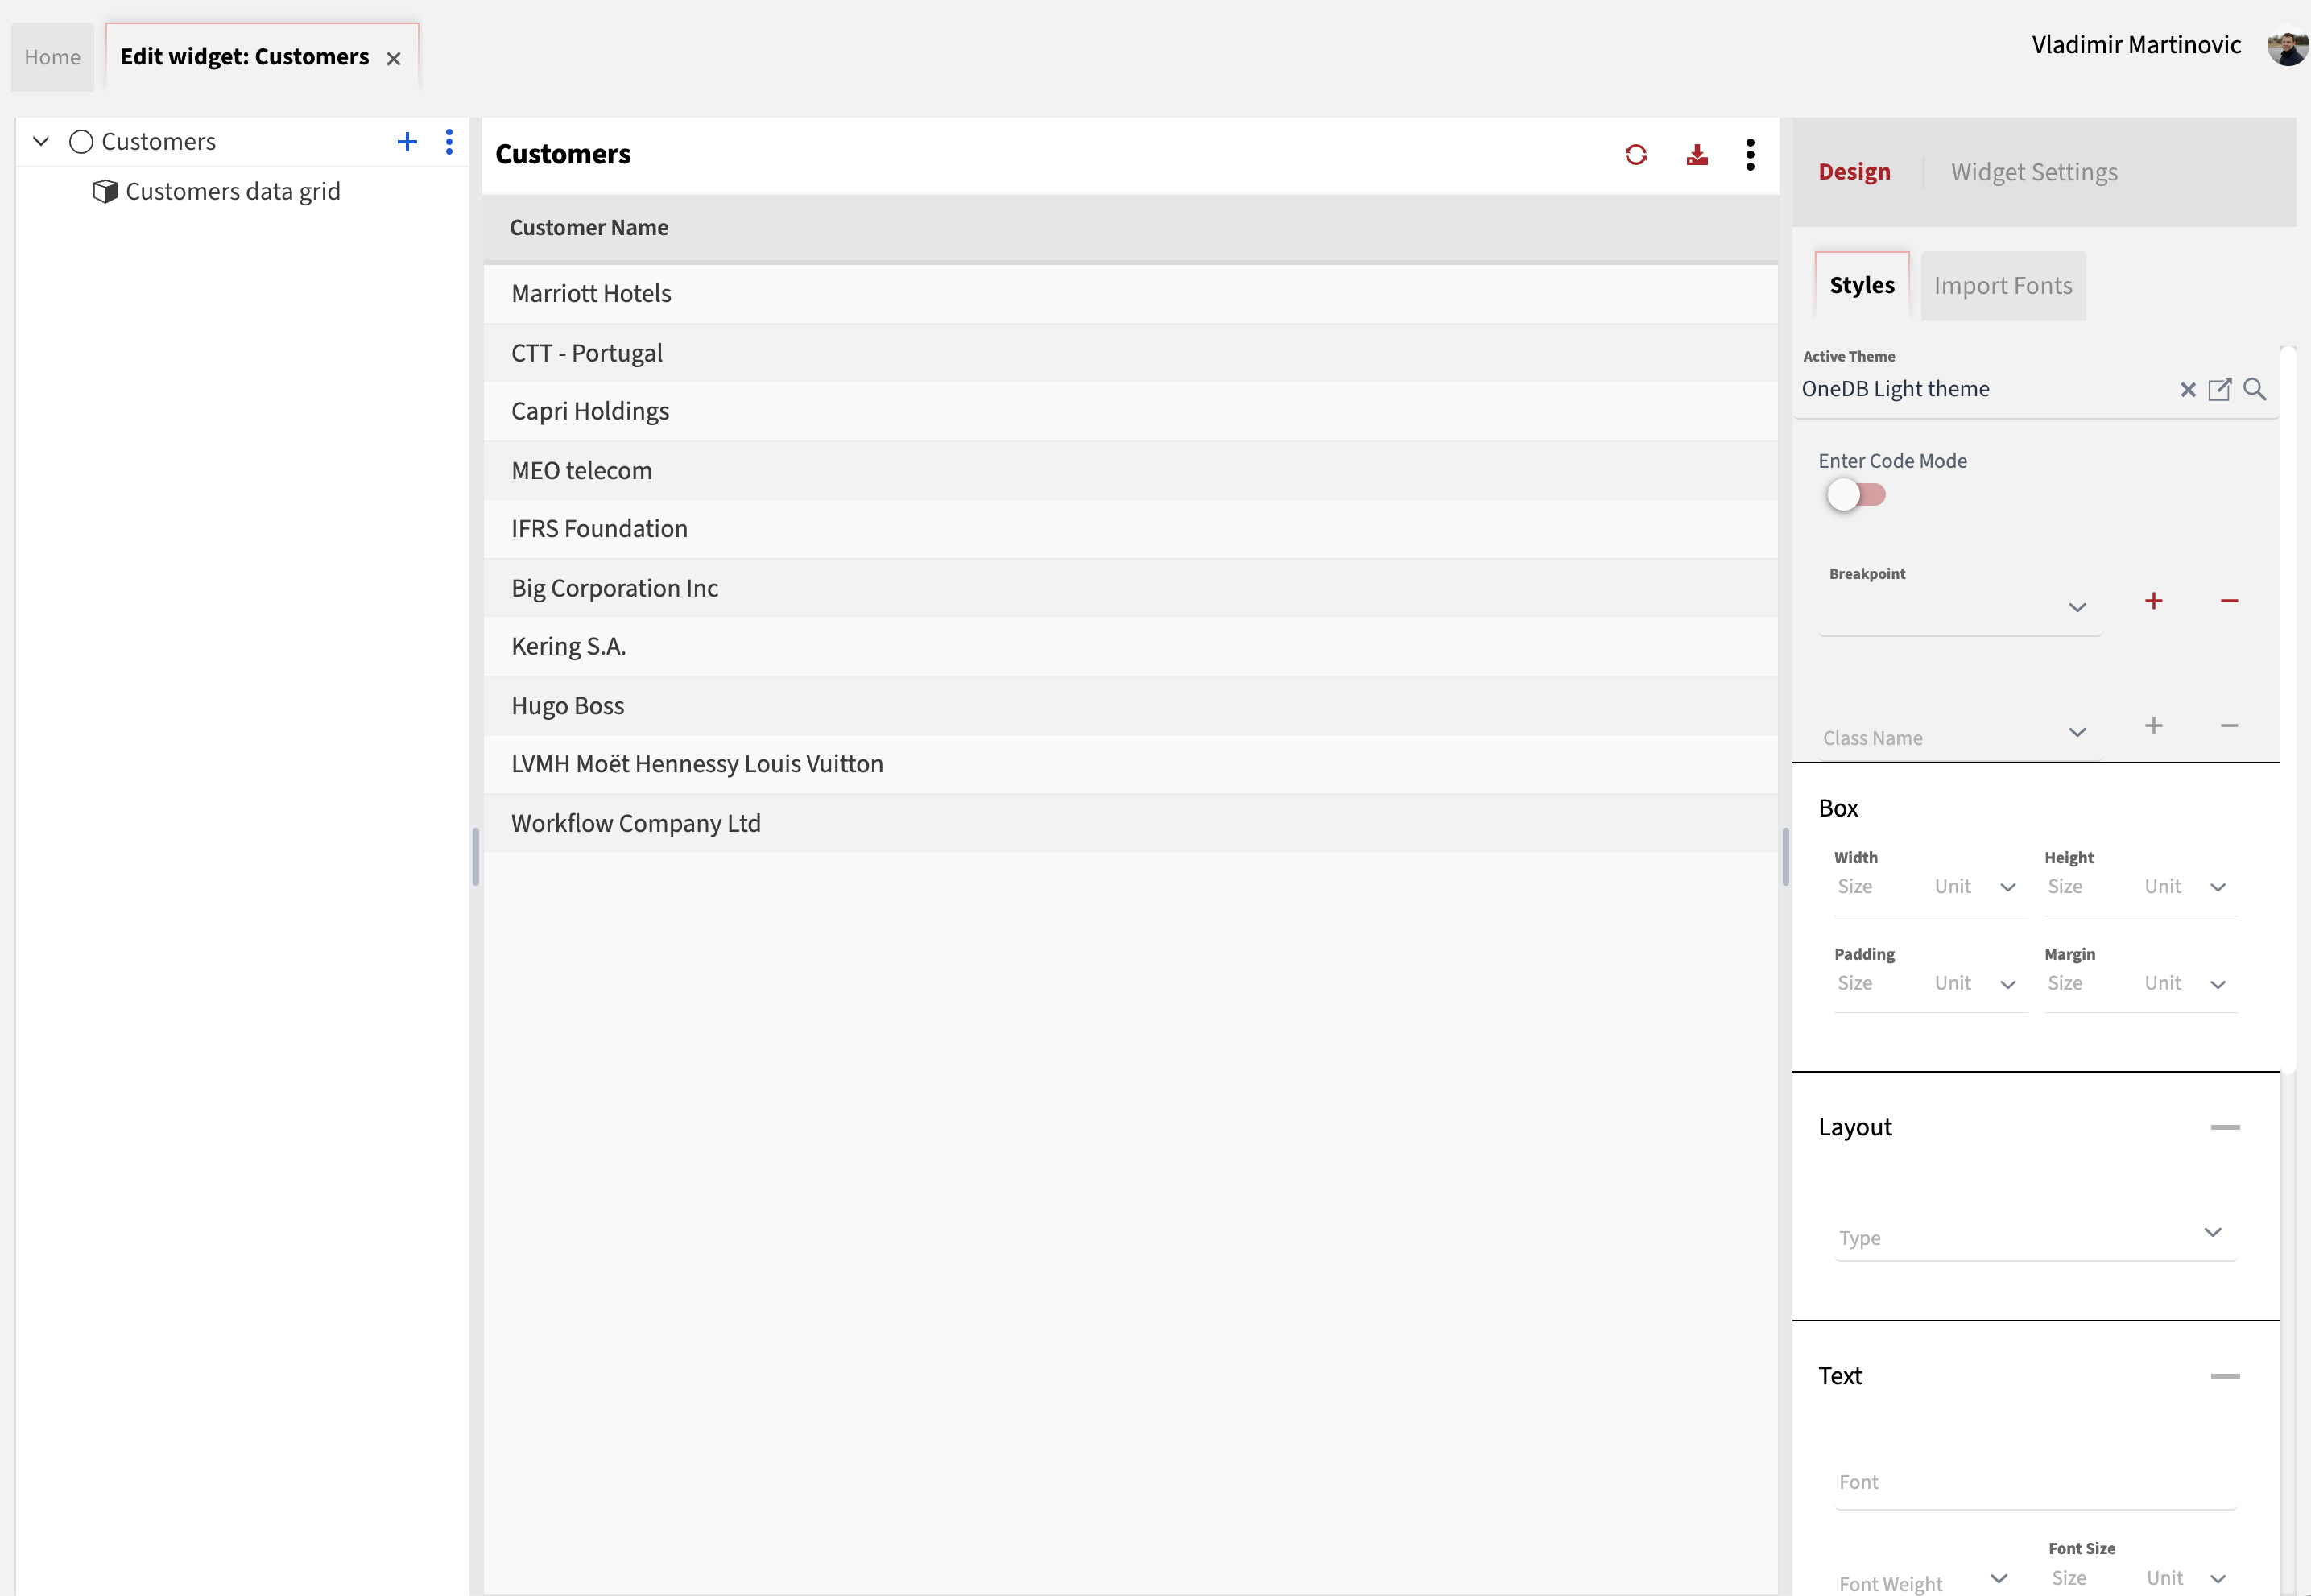
After a refresh, a new list of customers will be displayed.
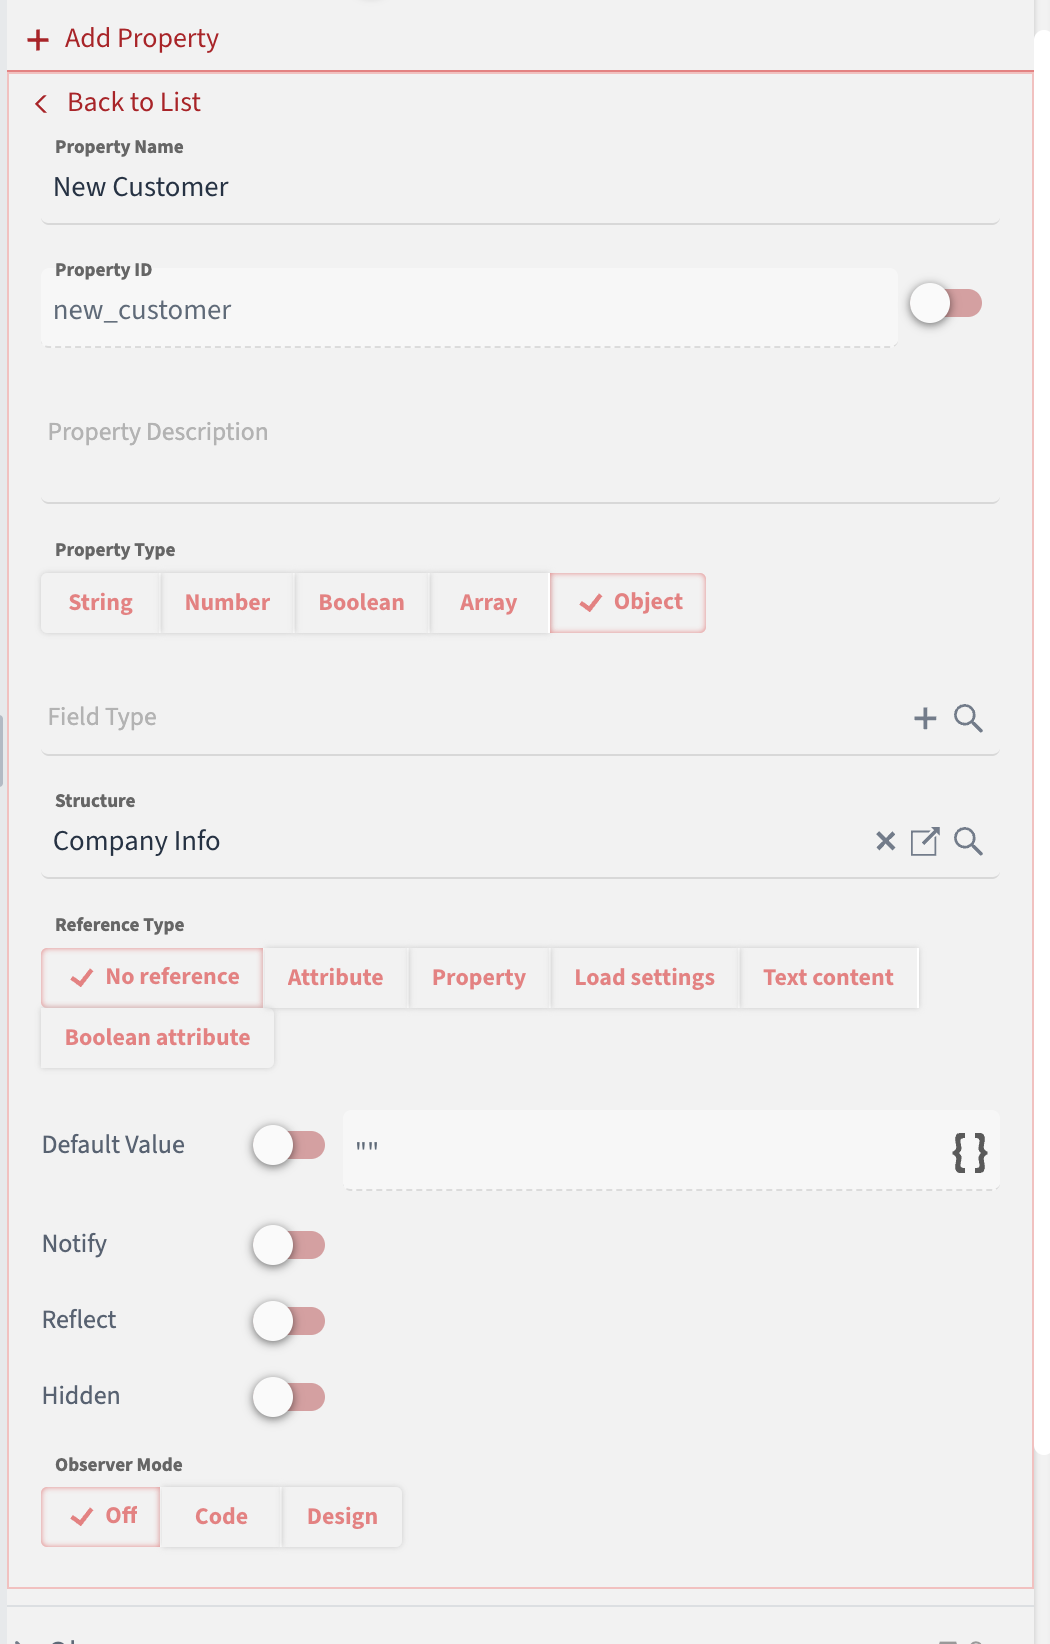
Next, we want to add fields for creating a new customer. First, we need to add a property that corresponds to the structure expected by the workflow. To do this, click on Customer, navigate to Widget Settings on the right, locate the Properties section, and click the Add Property button. Ensure that you select Object as the Property Type and choose the correct structure (the one created in the first step).
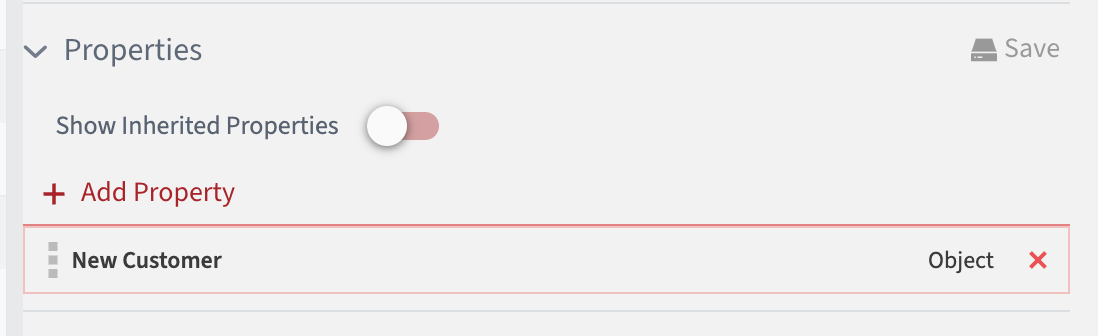
Click on Back to List and then click the Save button to save the property. Once this is done, you should see your property listed among the other properties.
Now, we can add three text fields---one for each workflow input parameter---and a button to trigger the workflow. Both the Text Field and Button are common widgets available in the initial list that appears when you click or hover over the + sign. Add three Text Field elements and one Button element. After doing so, the page should resemble the one shown in the image below.
Next, we should configure each element. Click on the first Text Field element and set its properties:
- Widget Name: Company Name (Optional)
- Label: Company Name
- Value: click on a small icon next to the label Value and change the type to Map — then select New Customer > Company Name
Do the same thing with other two text fields, replacing Company Name with Email Address and Phone Number, respectively.
The last element to configure is the button. Set the following:
- Widget Name: Create Customer (Optional)
- Inner Text: Create Customer
Next, we need to connect the workflow to the button’s click event.