UI Widget Styling
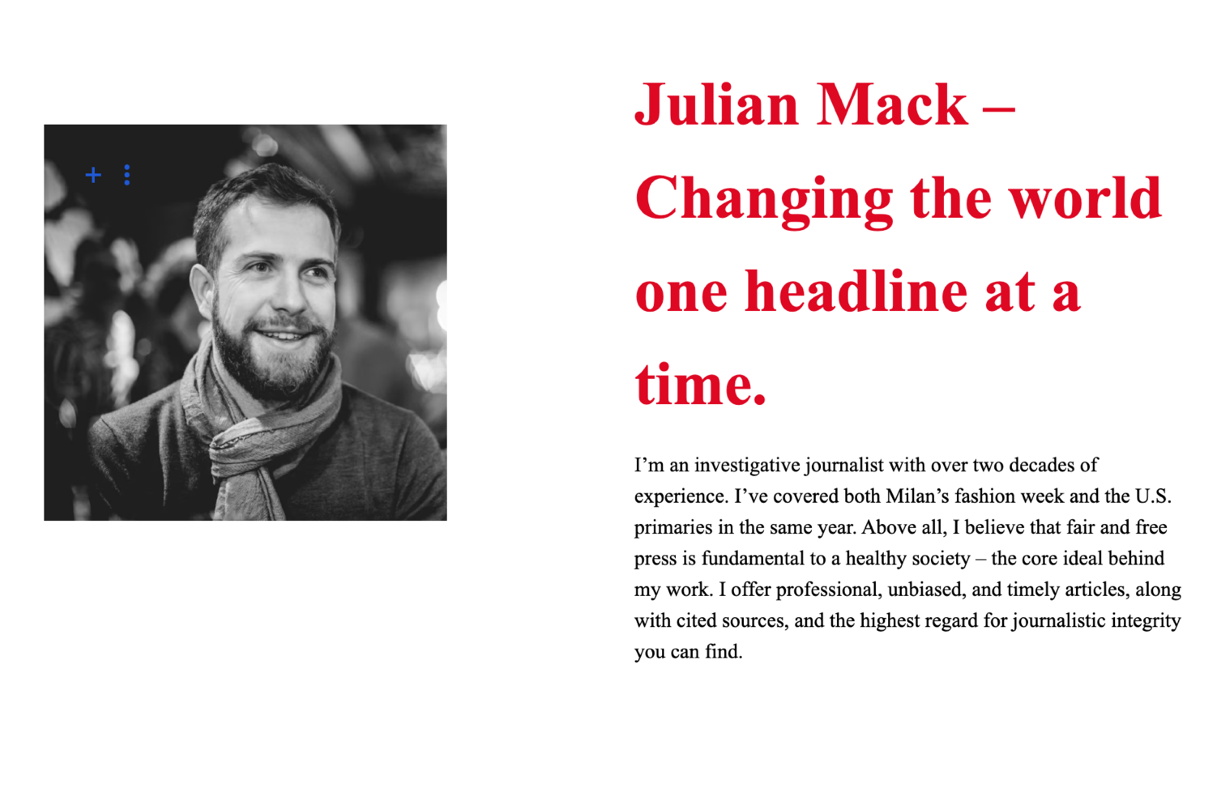
Let’s say we want to add a new page like this one (actually one part of it)
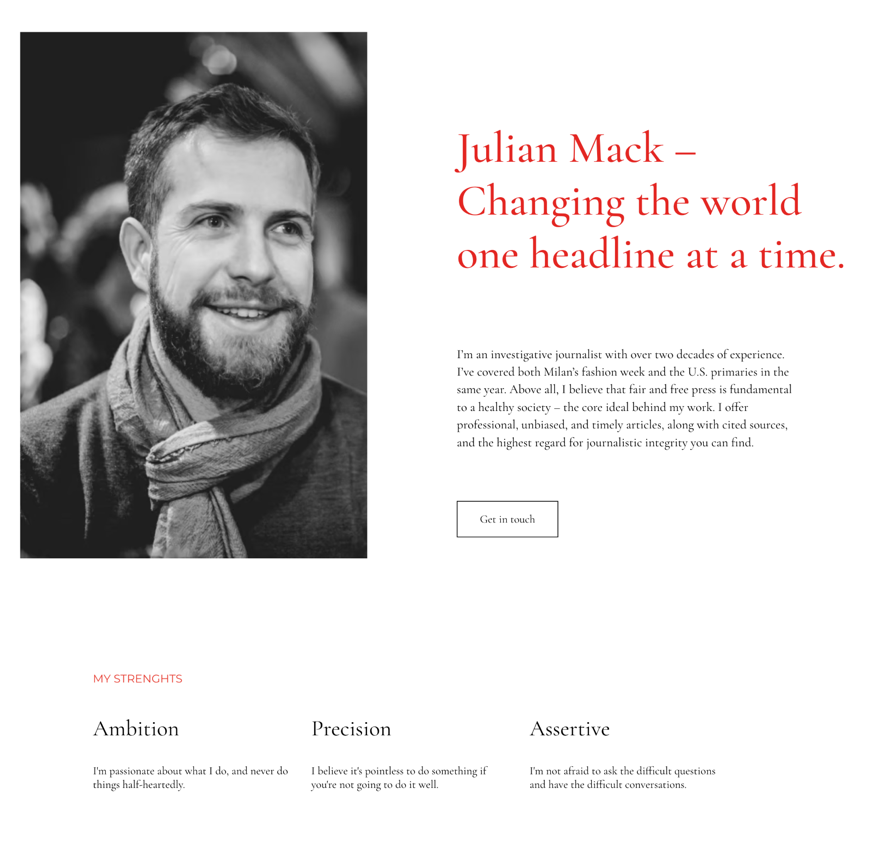
We will assume that this page has 6 columns and two rows, where the first row is significantly bigger than the second one.
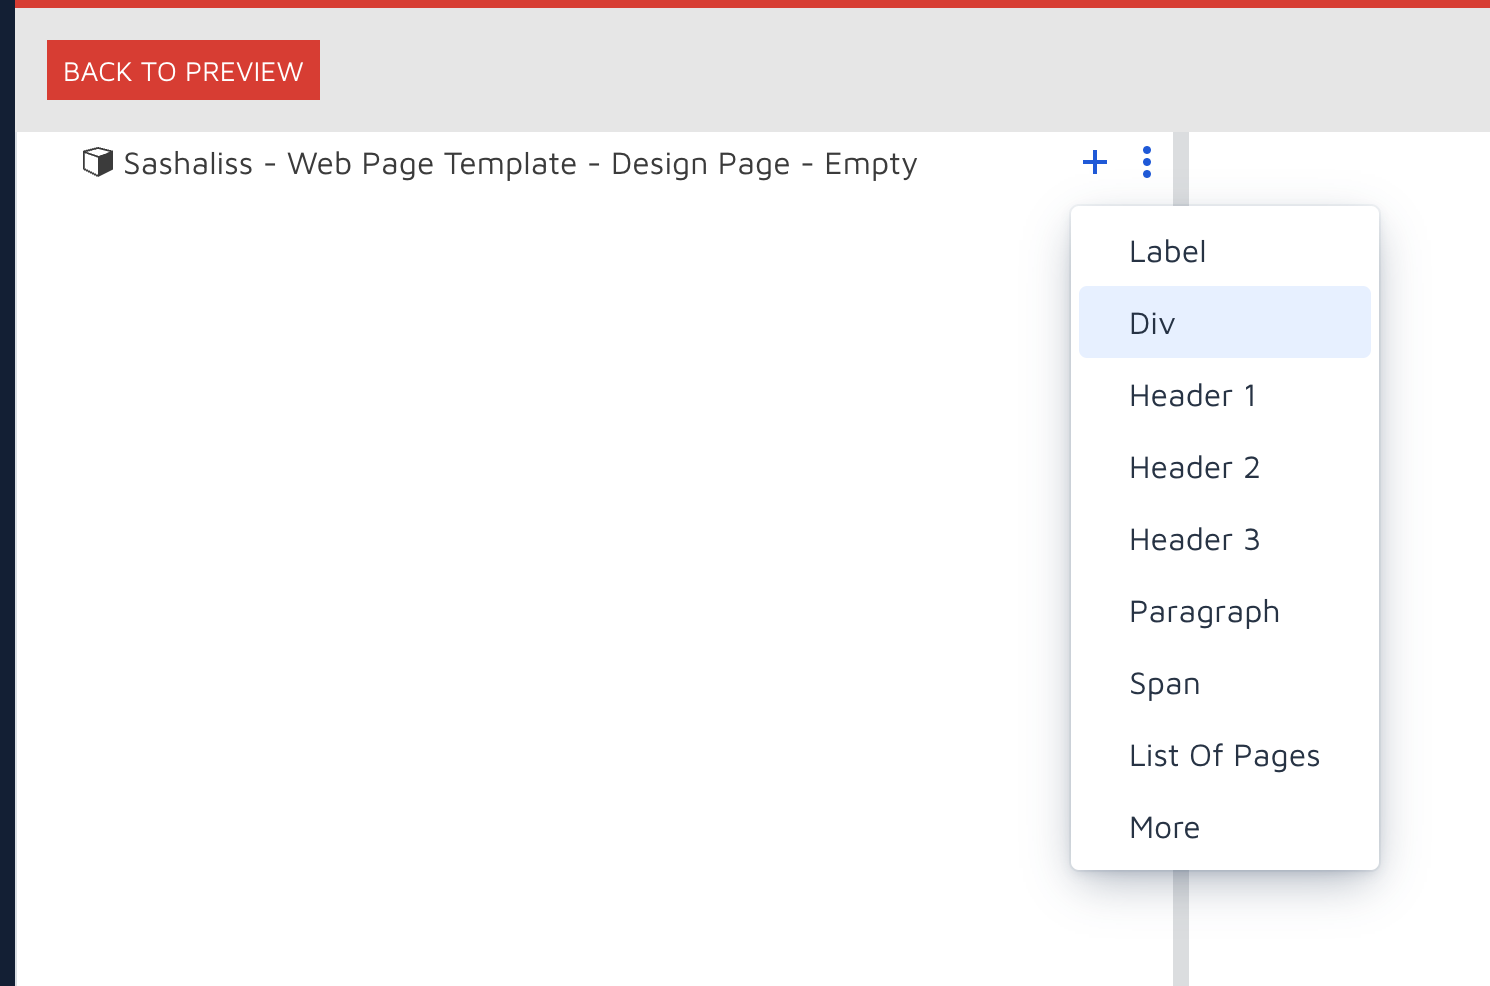
Add a div by clicking on + on the hierarchy root (there is nothing but that now) and select Div from the menu
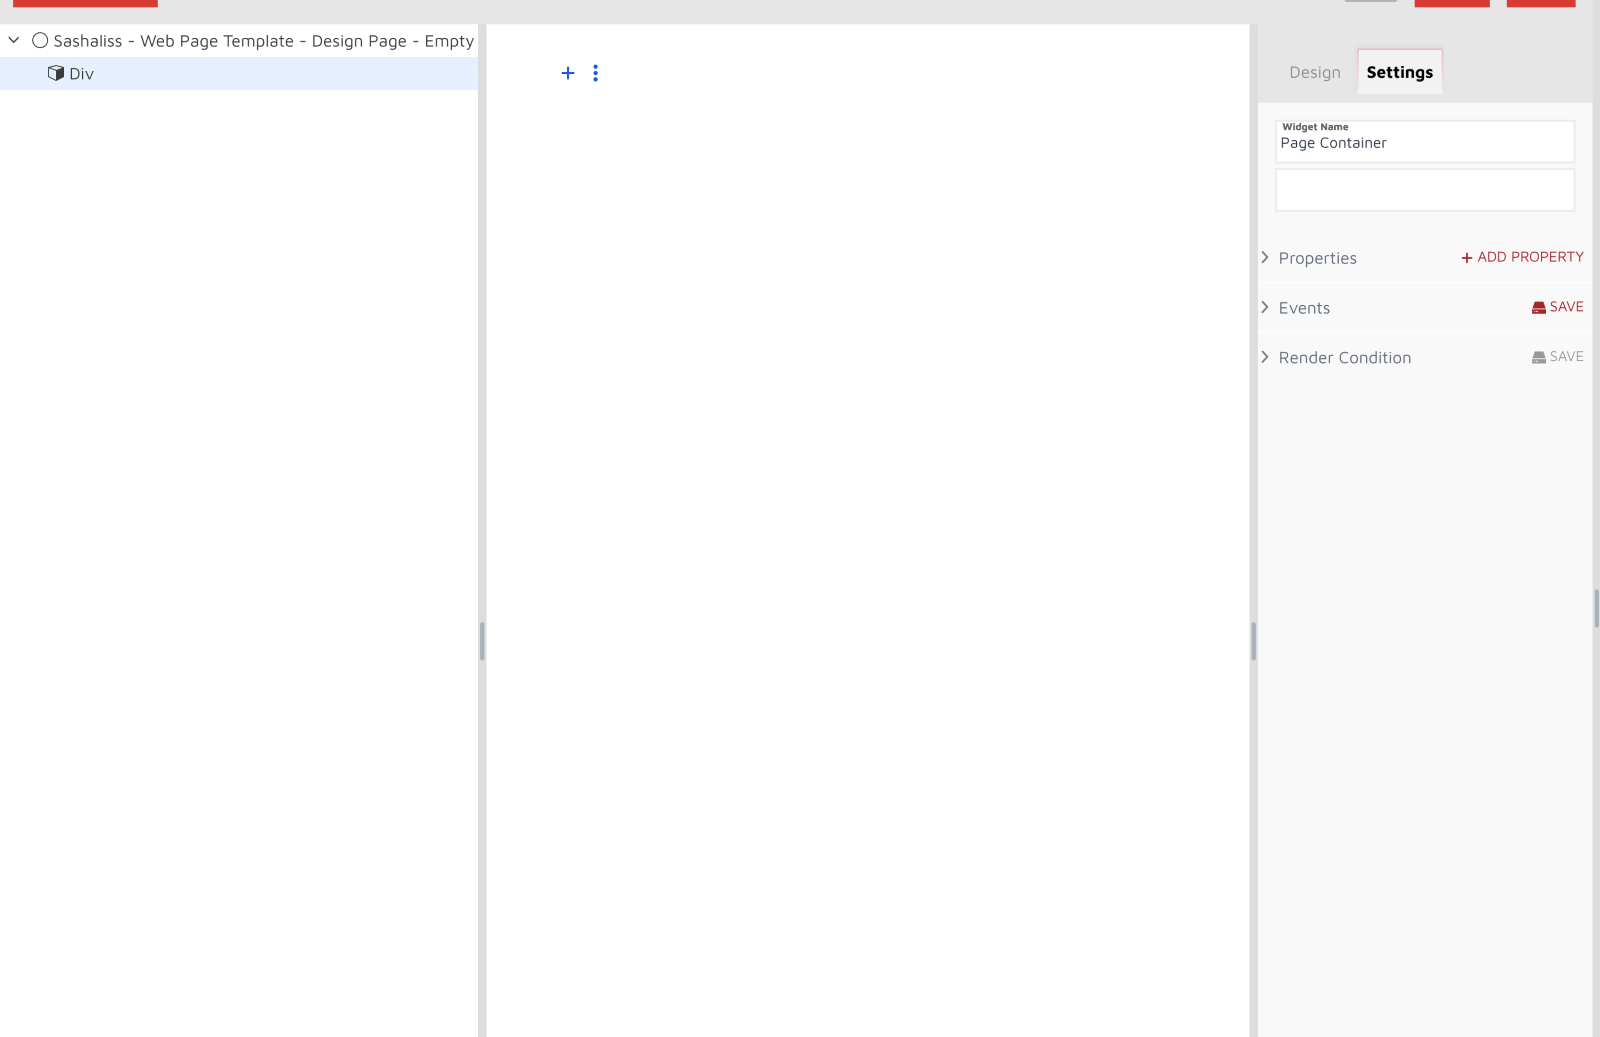
The added Div will appear on the left. Click on it and you will see its properties on the right. Change the name if you like (Settings tab), I will call it Page Container.
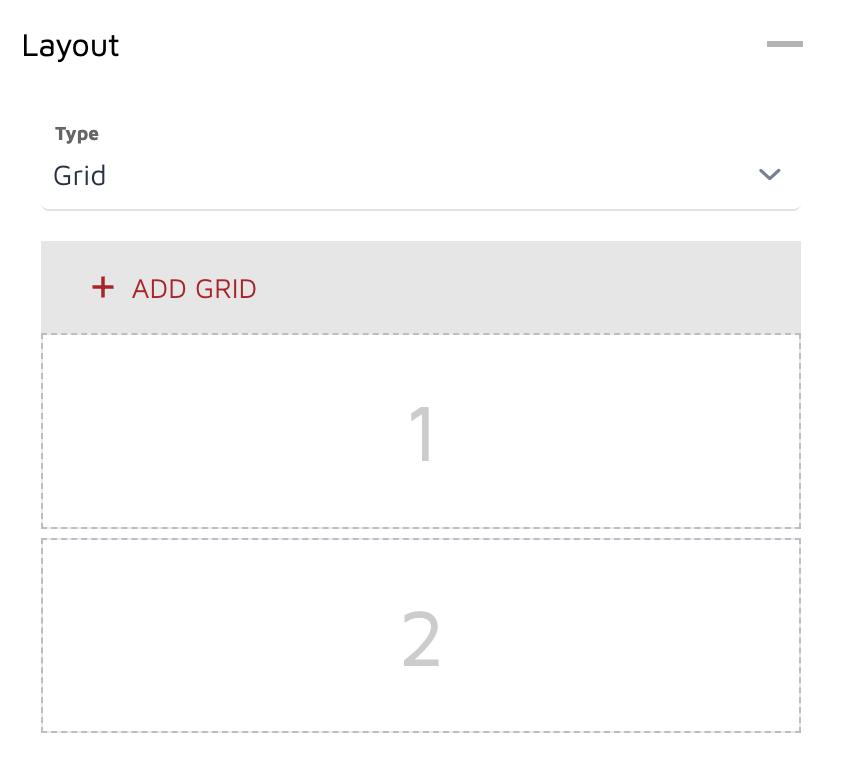
Again, click on it on the left, then set the Grid layout under Design tab.
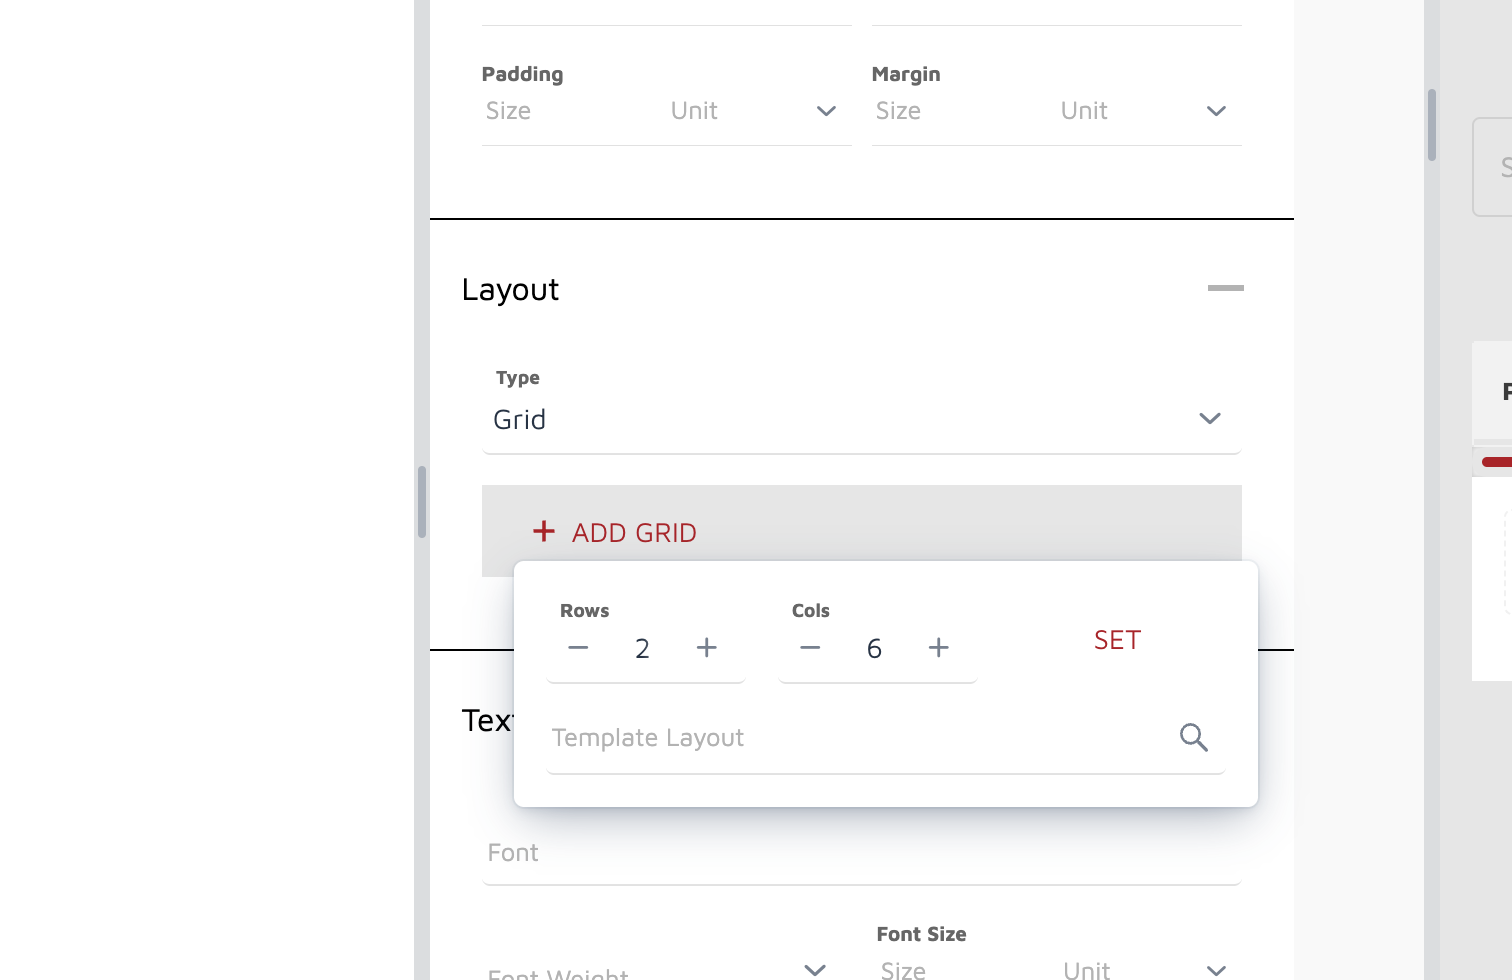
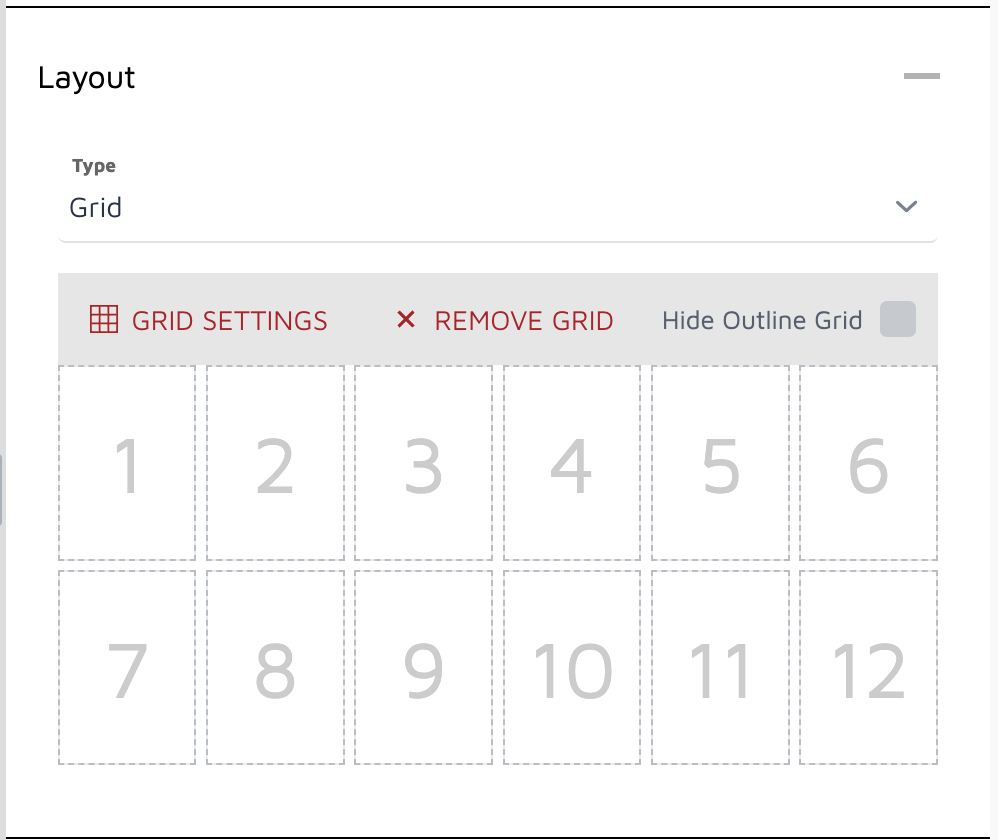
After you click on SET, you will see the grid rendered on the right.
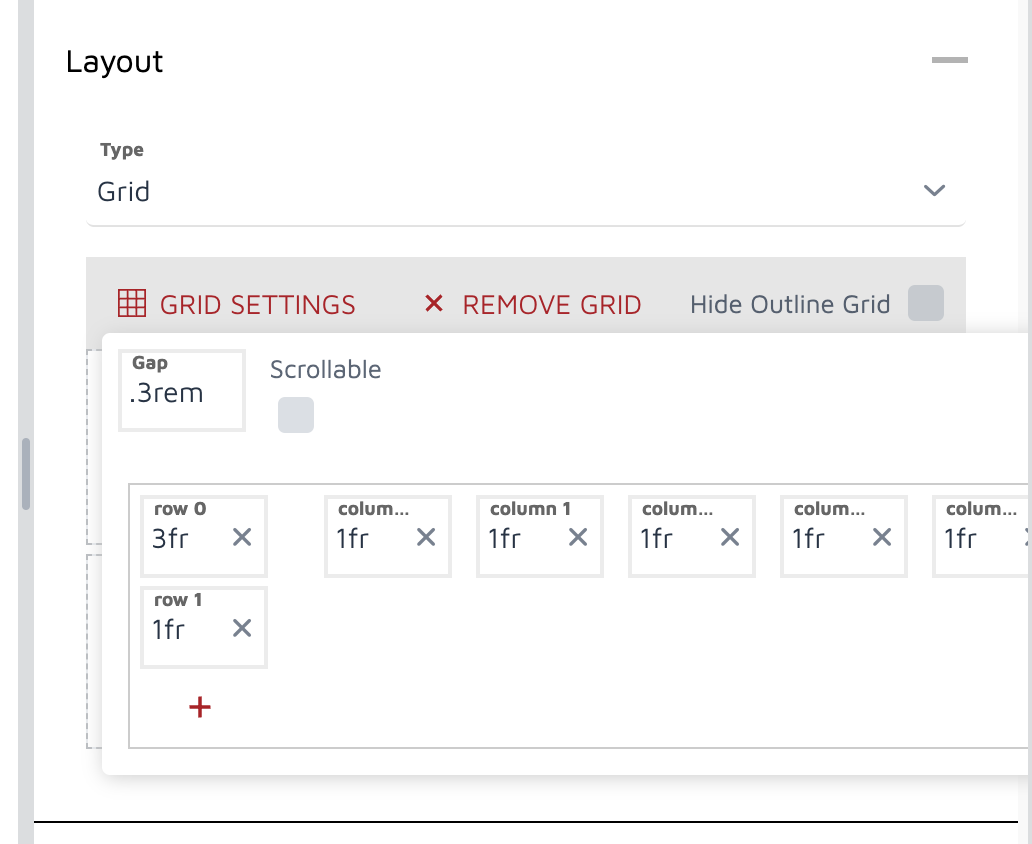
Now, we are going to say that the first row has height 3x bigger than the second one. To do so, click on Grid settings, and set 3fr for the first row.
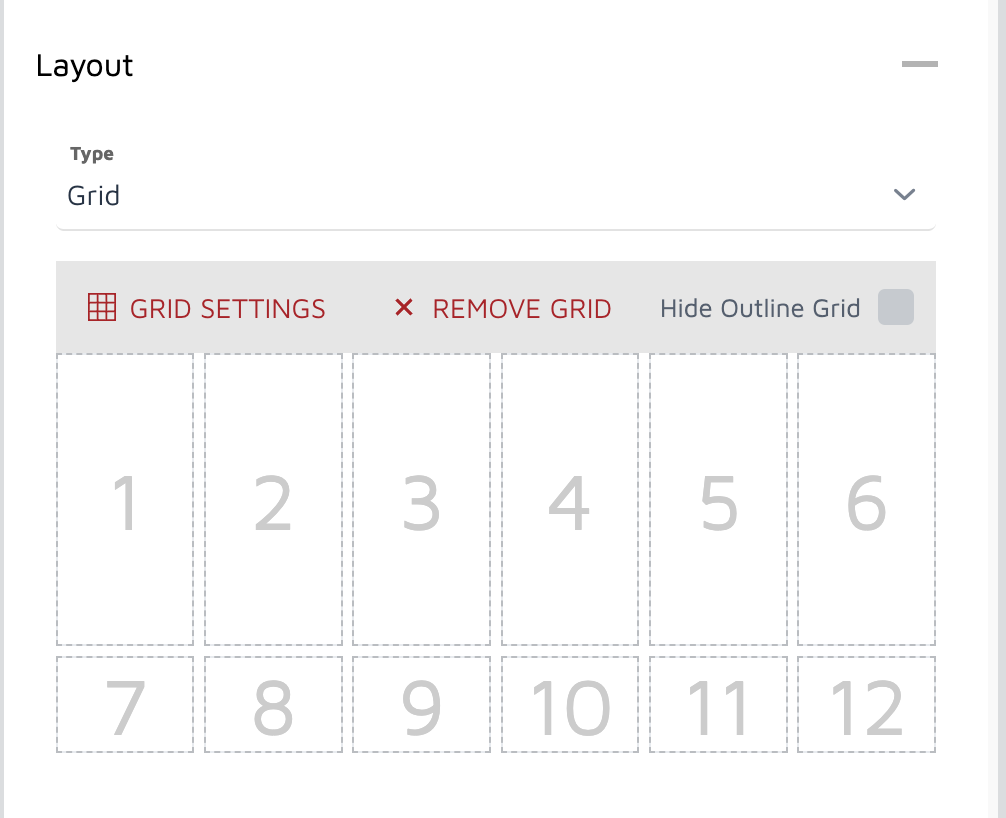
After you do that, you will notice that grid looks different now.
Now, we want to add an image in the first three columns of the first row. Click on + on the left, but on the div we’ve added before, because we want to place an image inside it (it is possible to do this after — by drag & drop - as well).
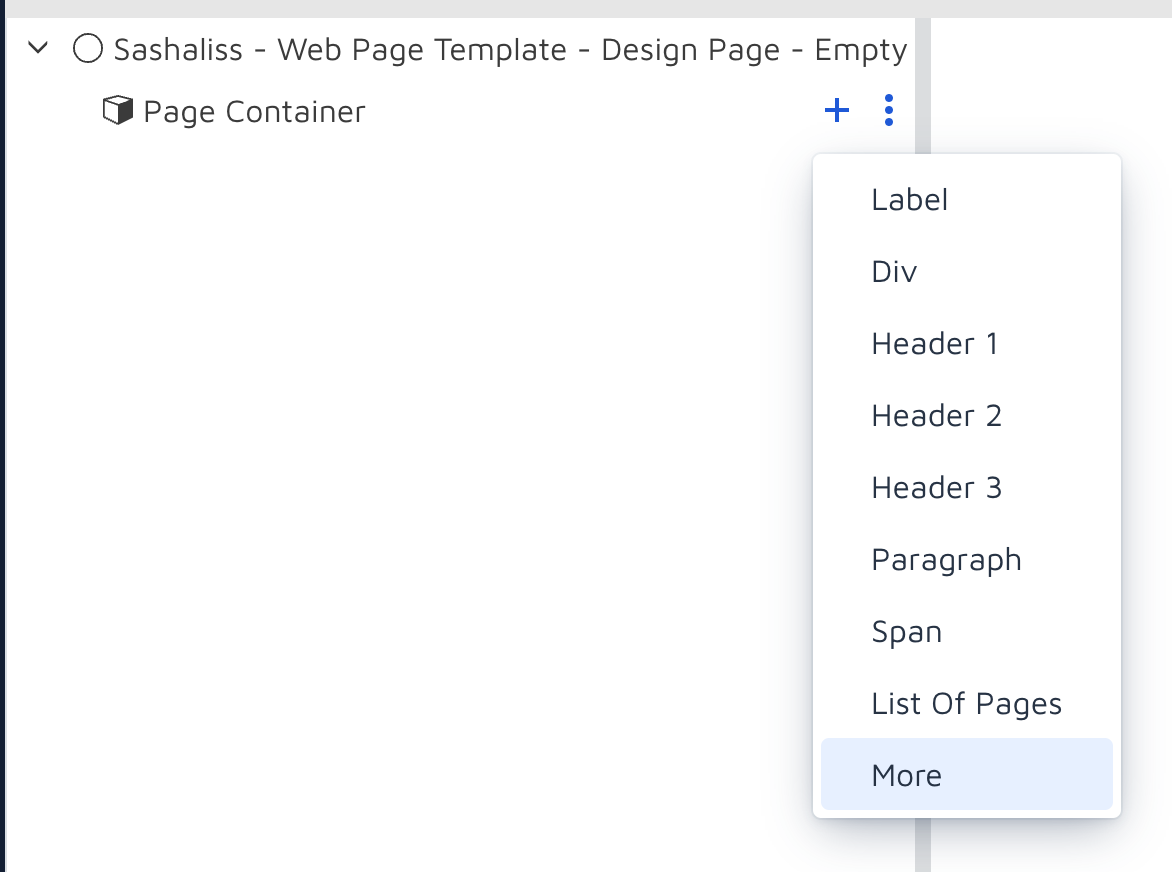
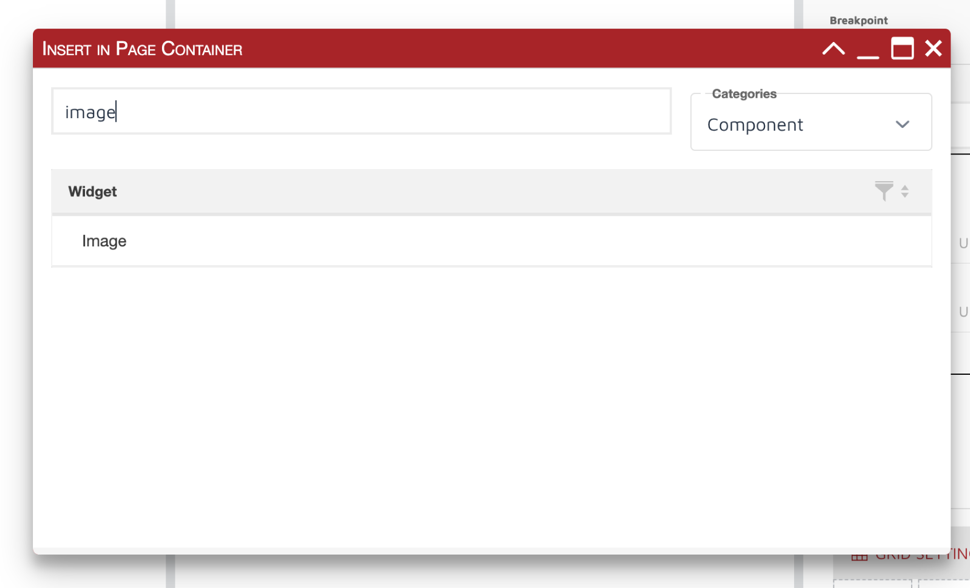
Since that image is not in this short list of element types, click on More, change the category to Component, filter the widget types to find Image, double click on it and close the pop-up window.
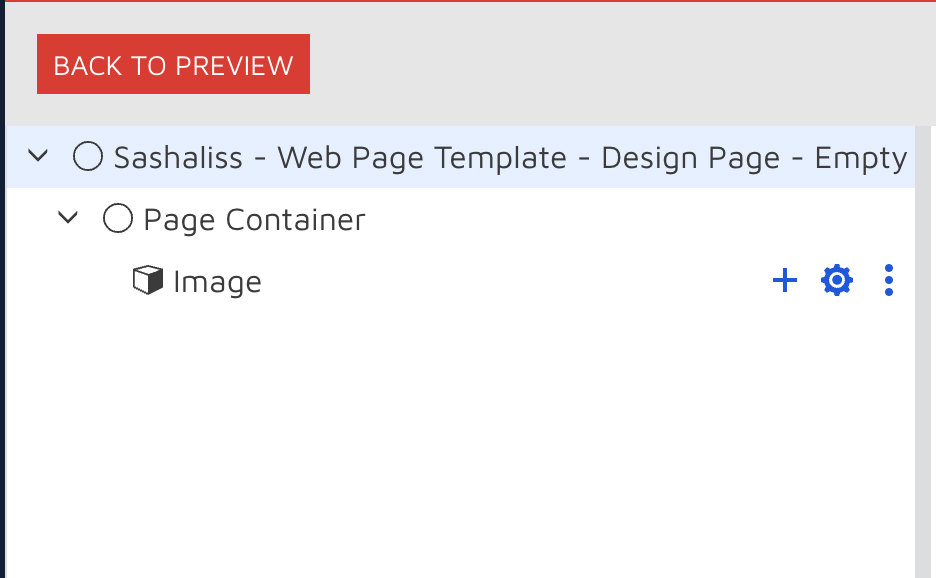
You will notice that new element — Image — is placed inside the div we’ve added at the beginning (in my case renamed to Page Container).
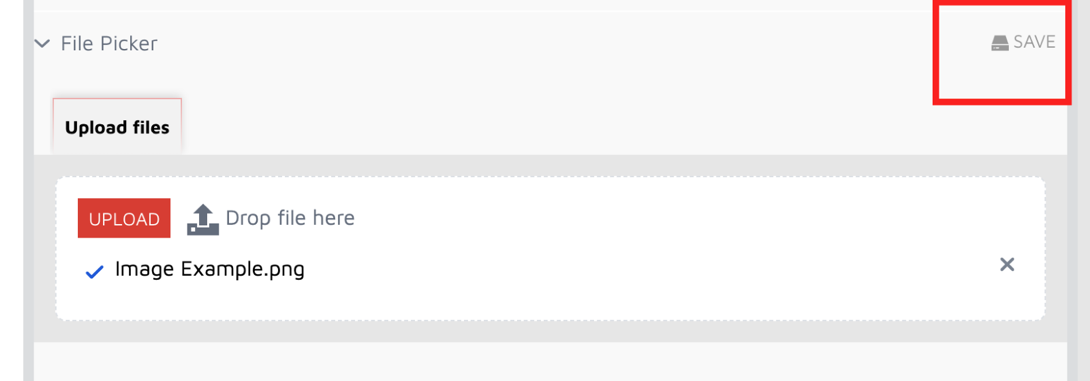
Click on Image, then under Settings in the right pane, find File Picker section, click on Upload and choose an image from the computer.
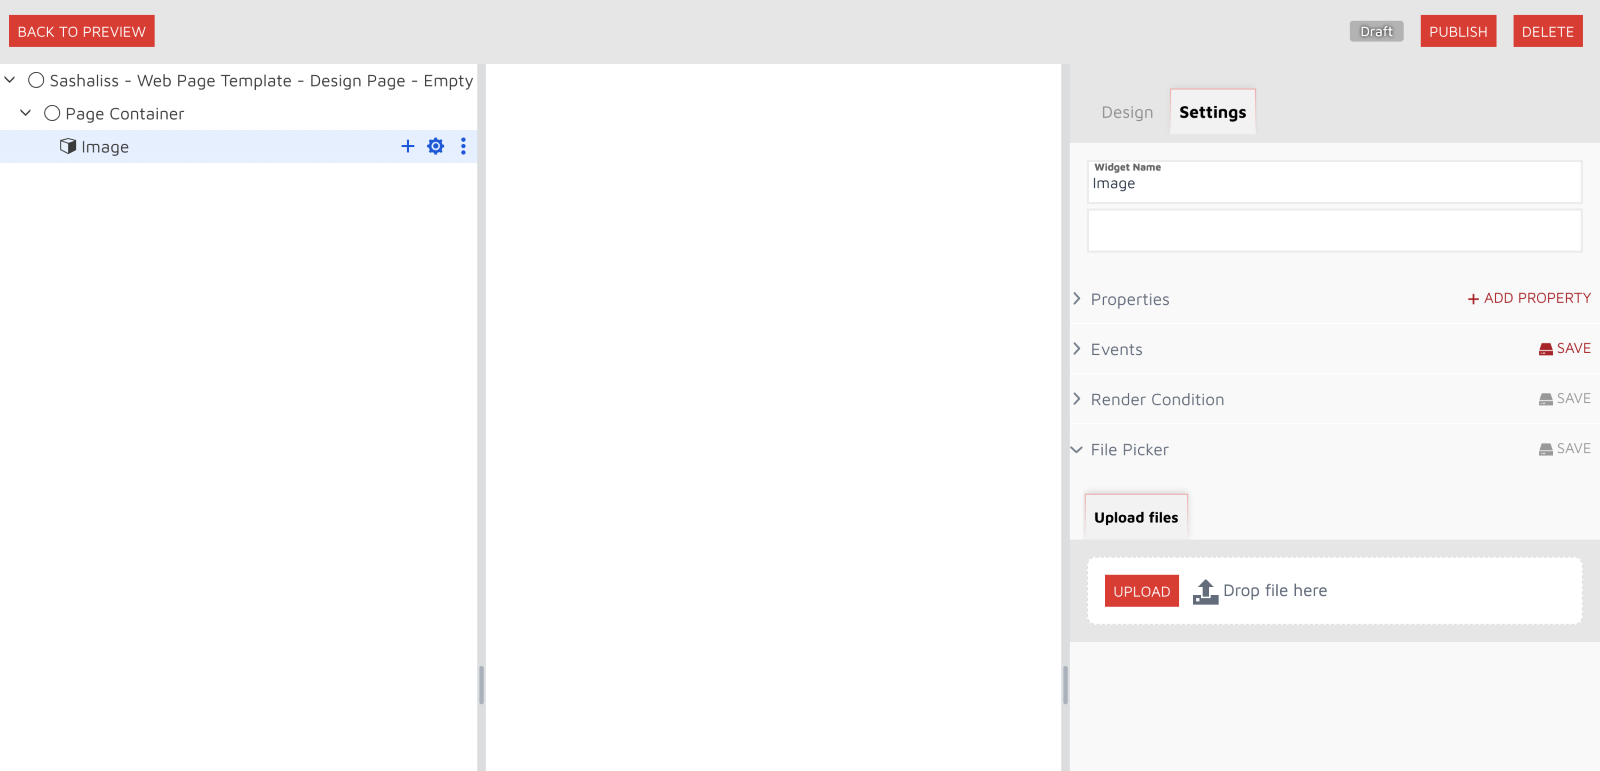
After image is uploaded, click on Save, to apply changes.
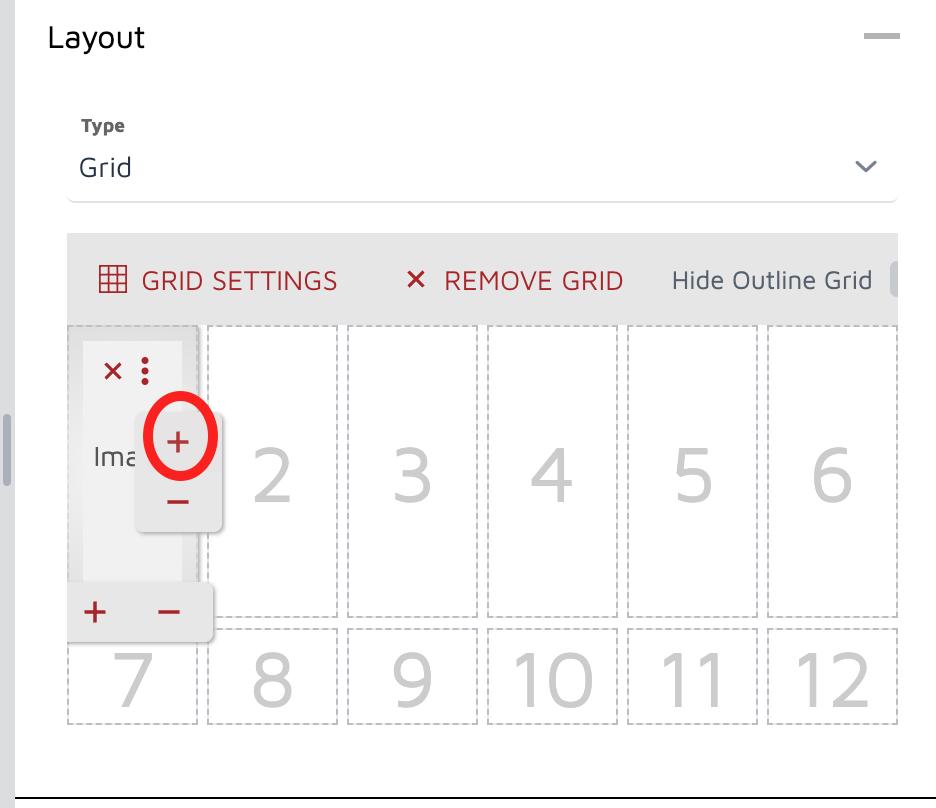
You will notice an image in the preview pane. Click on the parent div (Page Container), go to Layout section, and expand this image to the first three columns (click on + twice).
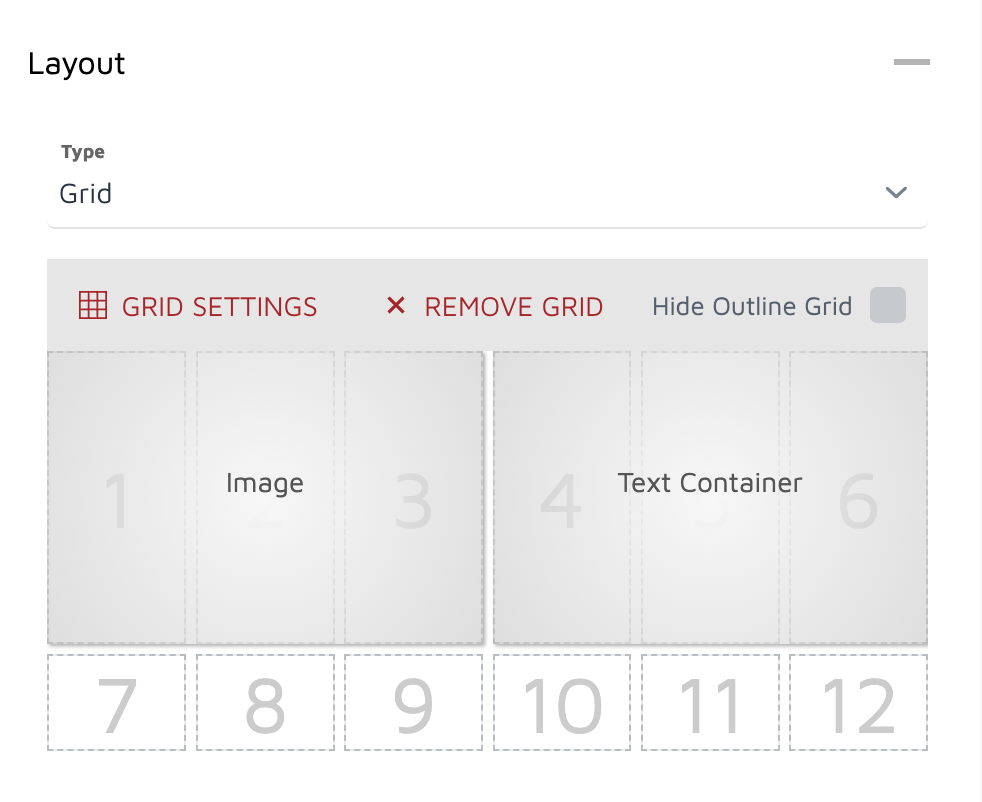
Add another div, rename it to Text Container, and expand it to the next three columns. After that, the grid should look like this.
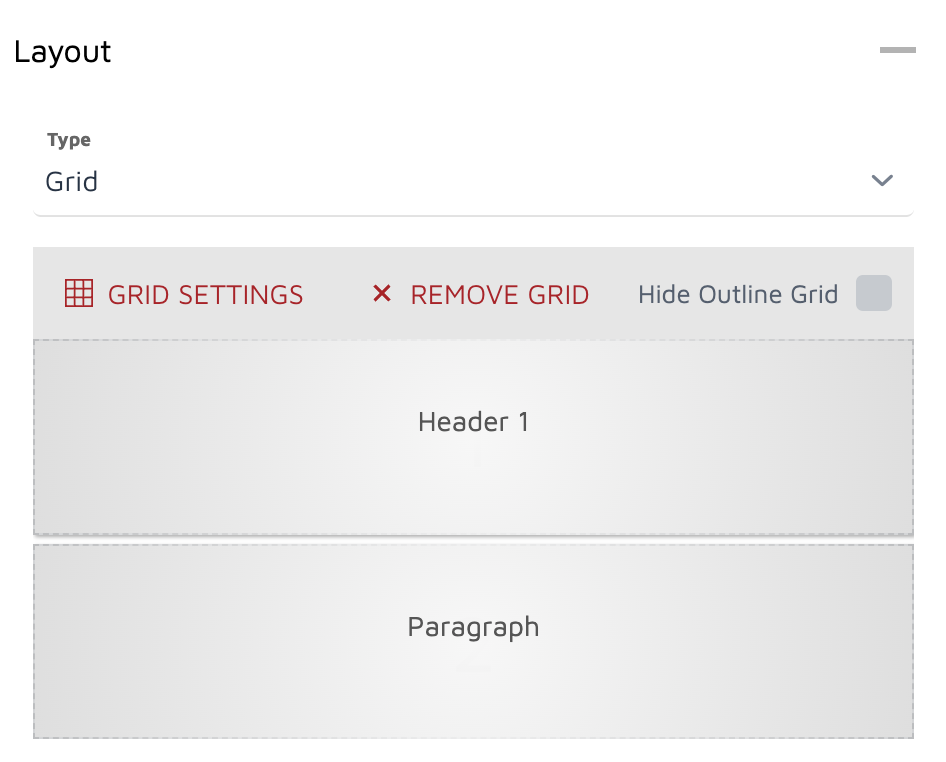
Now Text Container could have two rows, so same we will set Grid layout to Text container and say that there is 1 column and 2 rows.
Add two elements inside Text Container, Header 1 (for title) and Paragraph (for text). Grid layout for Text Container will look like in the screenshot below.
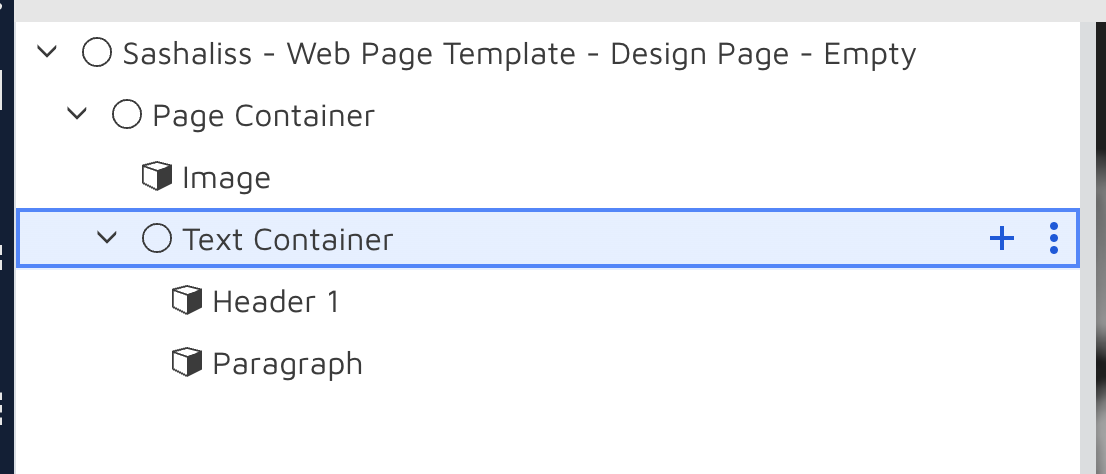
At this point, hierarchy pane shows 5 elements.
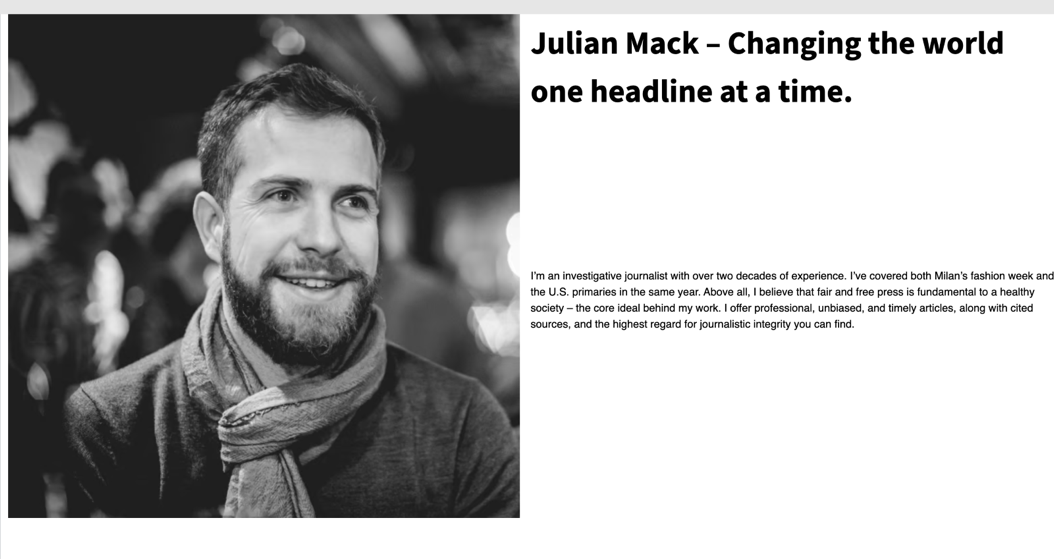
Click on Header 1, go to Settings — Properties — Inner Text and enter some text (We will copy the text from the example above). Do the same for Paragraph. The page will have image, title, and paragraph.
Now let’s apply some styling to added elements. Click on Header 1, go to Design — Styles and set some properties (i.e., Text font and Font Colour). Do the same for paragraph.